Saturday, December 26, 2015

DIY License Plate Design Keychain


This is a project I made for my husband's Christmas giveaways. I also made colorful beaded wire trees which I will be blogging about soon. Right now, let's check out how I made these personalized keychains.


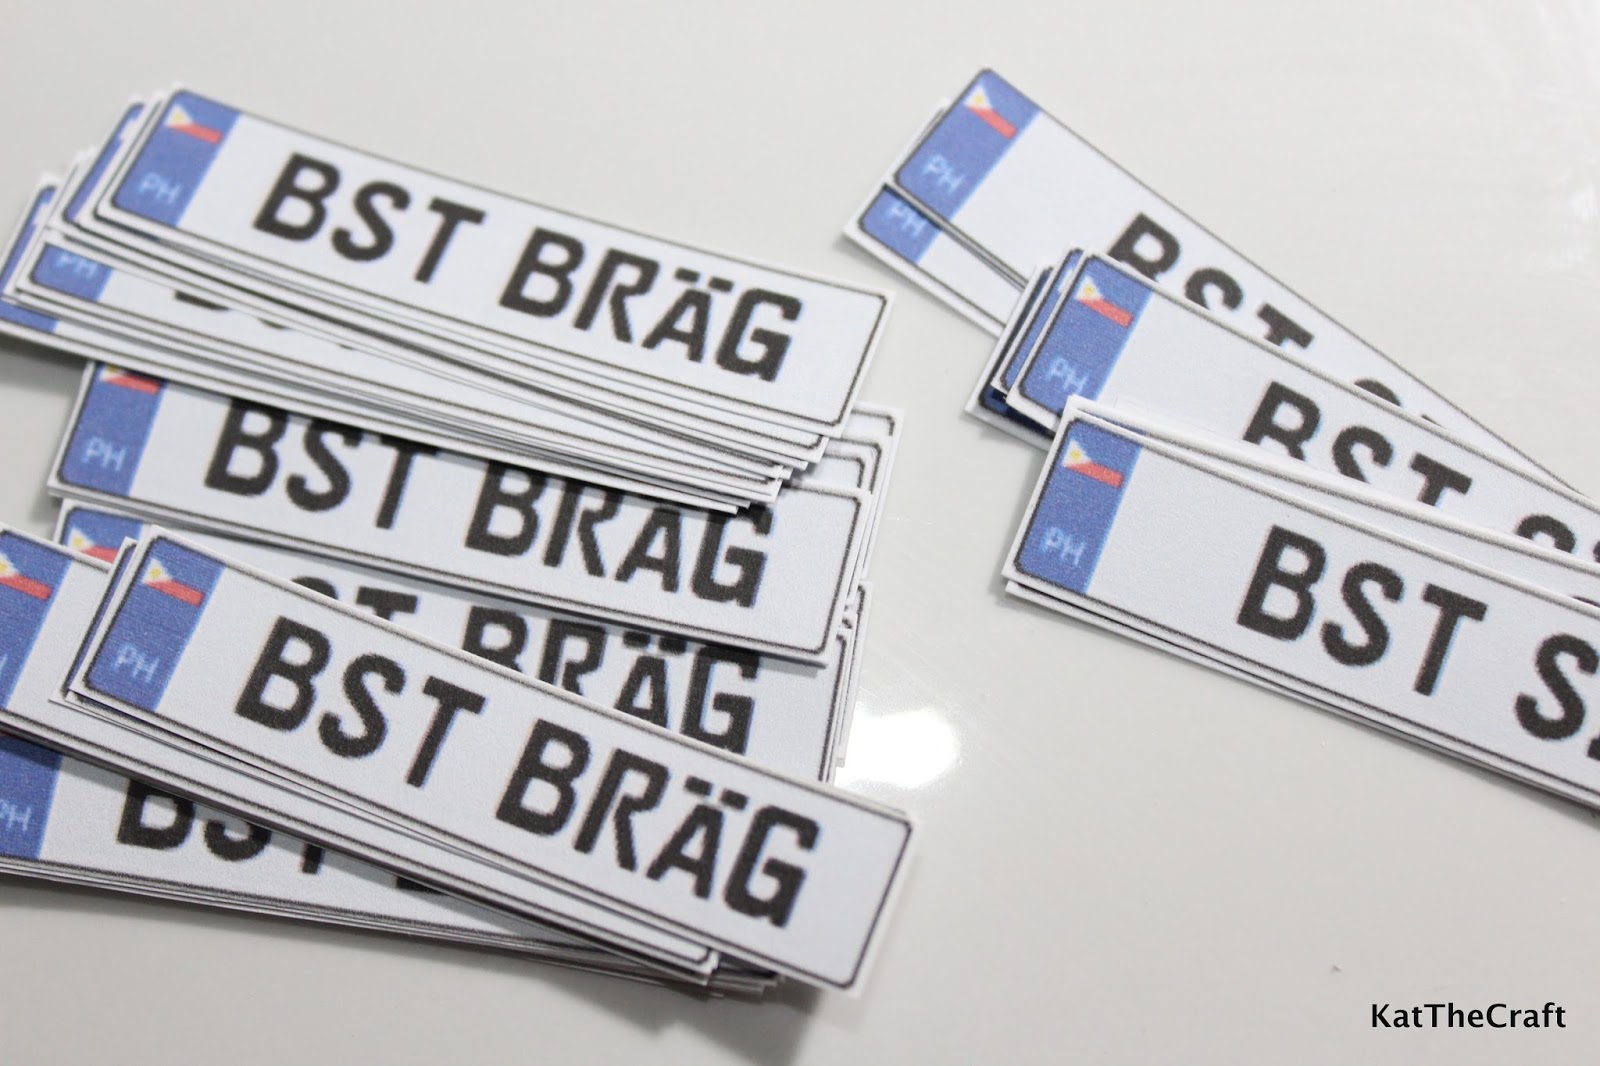
First, I printed these license plate designs on a white copy paper and cut them out. My husband made the template, that's an acronym for their department in the office.


I then prepared the plates. These are made from air dry clay. I flatten sheets of clay about 2mm thick and cut out rectangles according to the size of the printouts. I just added a little space on the sides. These are about 6.5cm x 1.5 cm. I made holes big enough for a jump ring to fit in for easy attachment to the chain. 

There are other materials that can be used for the plates like wood or a thick and sturdy cardboard.


My clay plates have some rough edges so I had to smoothen them with a nail file. 


The hardened clay has an off-white color so I painted it with with bluish white acrylic paint to match the color of the paper printouts. 


When the paint was dry, I adhered the paper on the plates using Mod Podge, my favorite decoupage medium.


To seal and add gloss, I coated all sides with a thin layer of Mod Podge and let it dry.


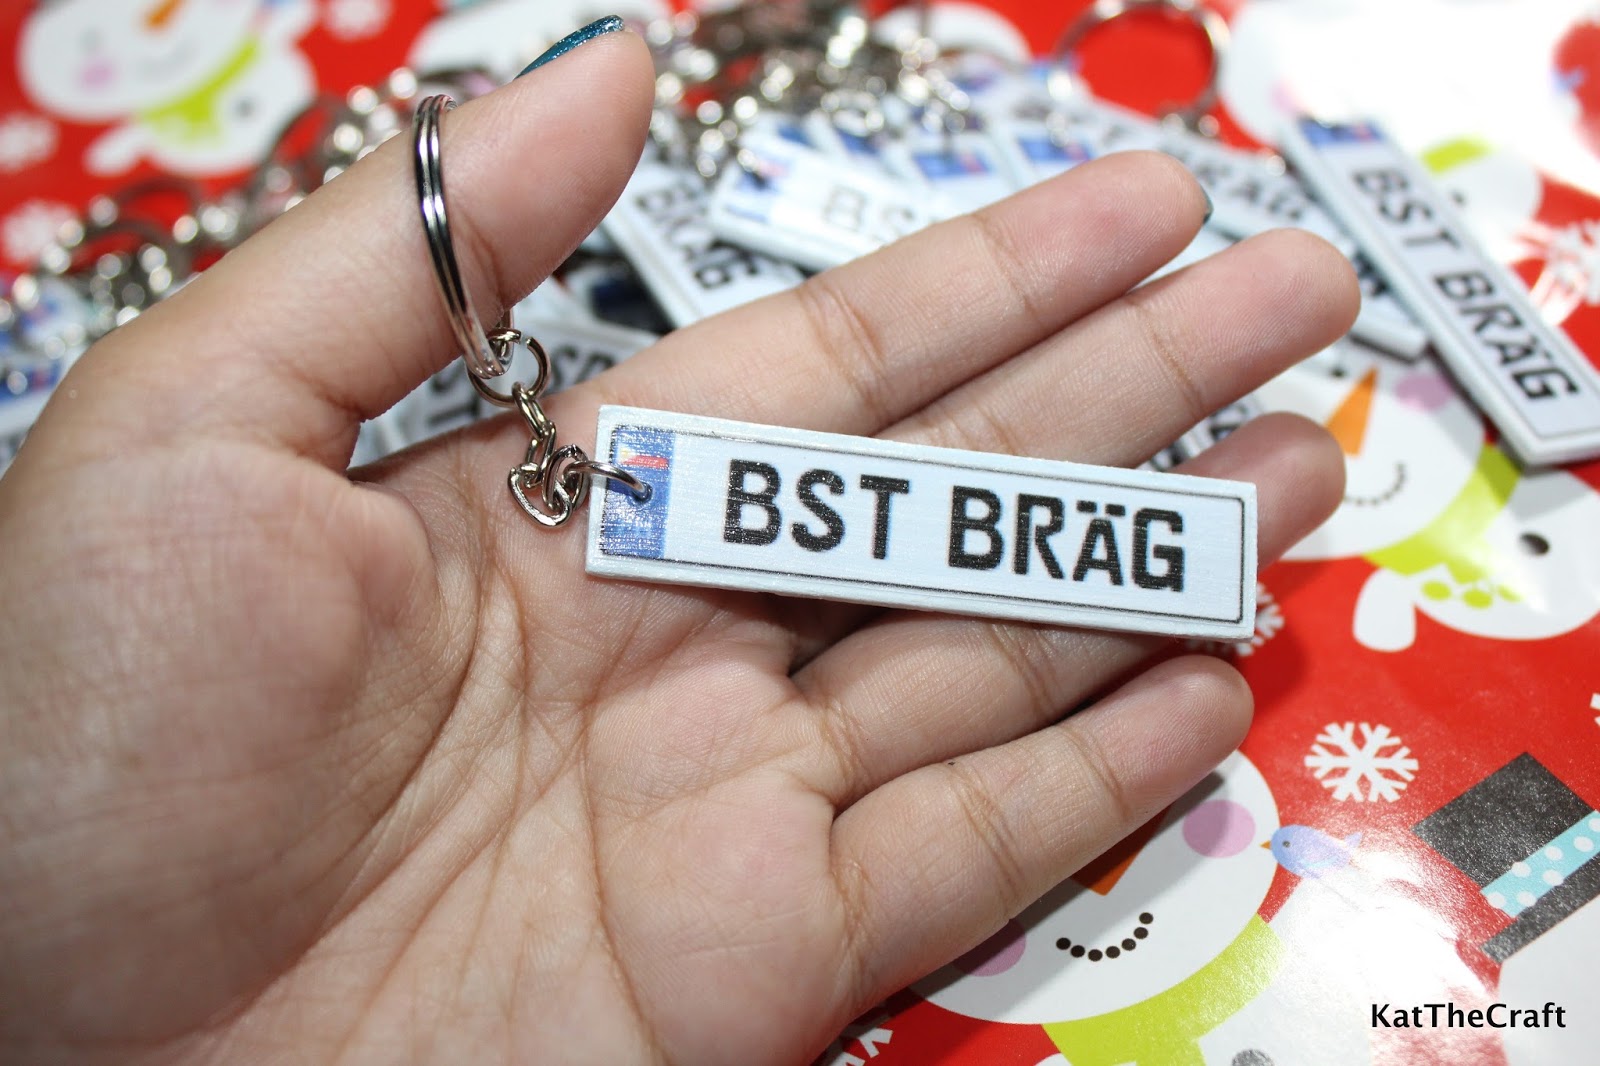
I attached the finished mini license plates to the key rings and chains using my ever reliable pliers. 


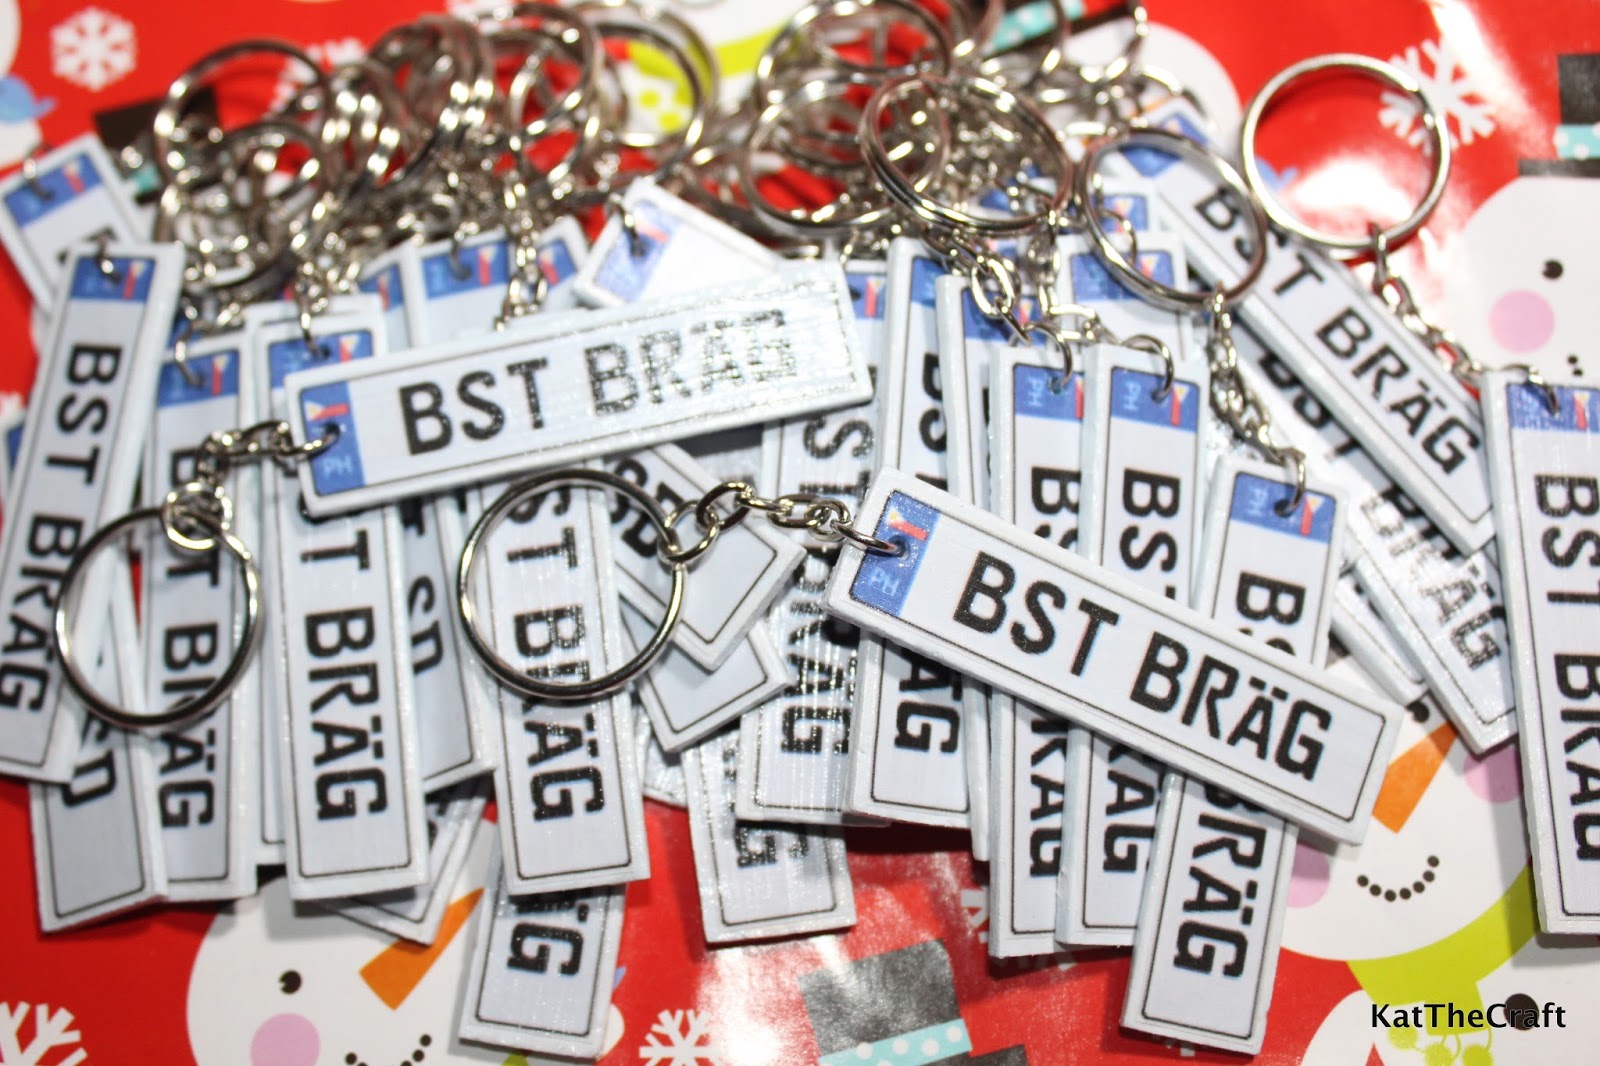
And they're ready. I made 36 pieces of this design.


I just added this personalized tag and viola! A cute token for the Holidays.

Easy and simple, and I think it would make a nice gift. You can just put on a friend's initials or just any word you like. I hope you like it. Thanks for dropping by!


Read More »

Wednesday, December 16, 2015

Christmas Gift Idea - Gemstone Trees


It's December, the busiest month of the year! It's time for Christmas shopping, malls are too crowded and here in Manila, there are traffic jams everywhere. I haven't done my shopping yet, I know it's already a bit late but it's still not on my schedule, but hey, I always love my last-minute runs to the mall. 

I know I should be blogging about DIY gift ideas or holiday ornaments but I'm too swamped with craft projects as of the moment and I'm forgetting to take pictures and document what I'm working on. Right now, I'm pretty busy with making our Christmas giveaways. My mom, like me, also makes her own gifts for her friends. This year, she's making gemstone trees and she has kindly shared her projects with us.


This is a tutorial for making hanging cherry blossoms. Of course you can have your own choice of style and gemstones to make your own version and this will be a good guide for that masterpiece you're planning to create.

Supplies needed:


Instructions:


The cherry quartz stones are the ones used here first.


On step 4, make several groups of stones depending on the length of the branch you want to make but it's recommended to make it an odd number so you would have a center. On this project, as shown above, there are 13 groups so there is one group as the center and 6 groups on either side. 


It is recommended to make it tight so your branches wouldn't be soft and squishy.


And the hanging cherry blossoms tree is done. This would make a great gift, don't you think? 


My mom made several other gemstone trees. These are done using the same process as the tutorial above with maybe just a few tweaks here and there depending on the design. My favorites are the purple ones that are mounted on natural amethyst rocks, they're simply gorgeous. 

Are you ready to make your own gemstone tree? 

Thank you for dropping by!


Read More »

LinkWithin

Related Posts Plugin for WordPress, Blogger...