Monday, March 28, 2016

Mini Beaded Wire Trees as Wedding Souvenirs, Party Favors


I was in the mood for making wire trees last week and I was able to make a few big ones and a lot of small ones. I would be giving away the small ones to my college friends as tokens on our reunion next month. I realized how cute these mini trees are and they would really be great party favors. Just add a customized tag, and voila, you have a unique wedding souvenir or a debut giveaway, another option is to put the trees in acetate boxes complete with ribbons and tags.

To make the tree's branches and leaves, I've shared the process here and the making of clay base here


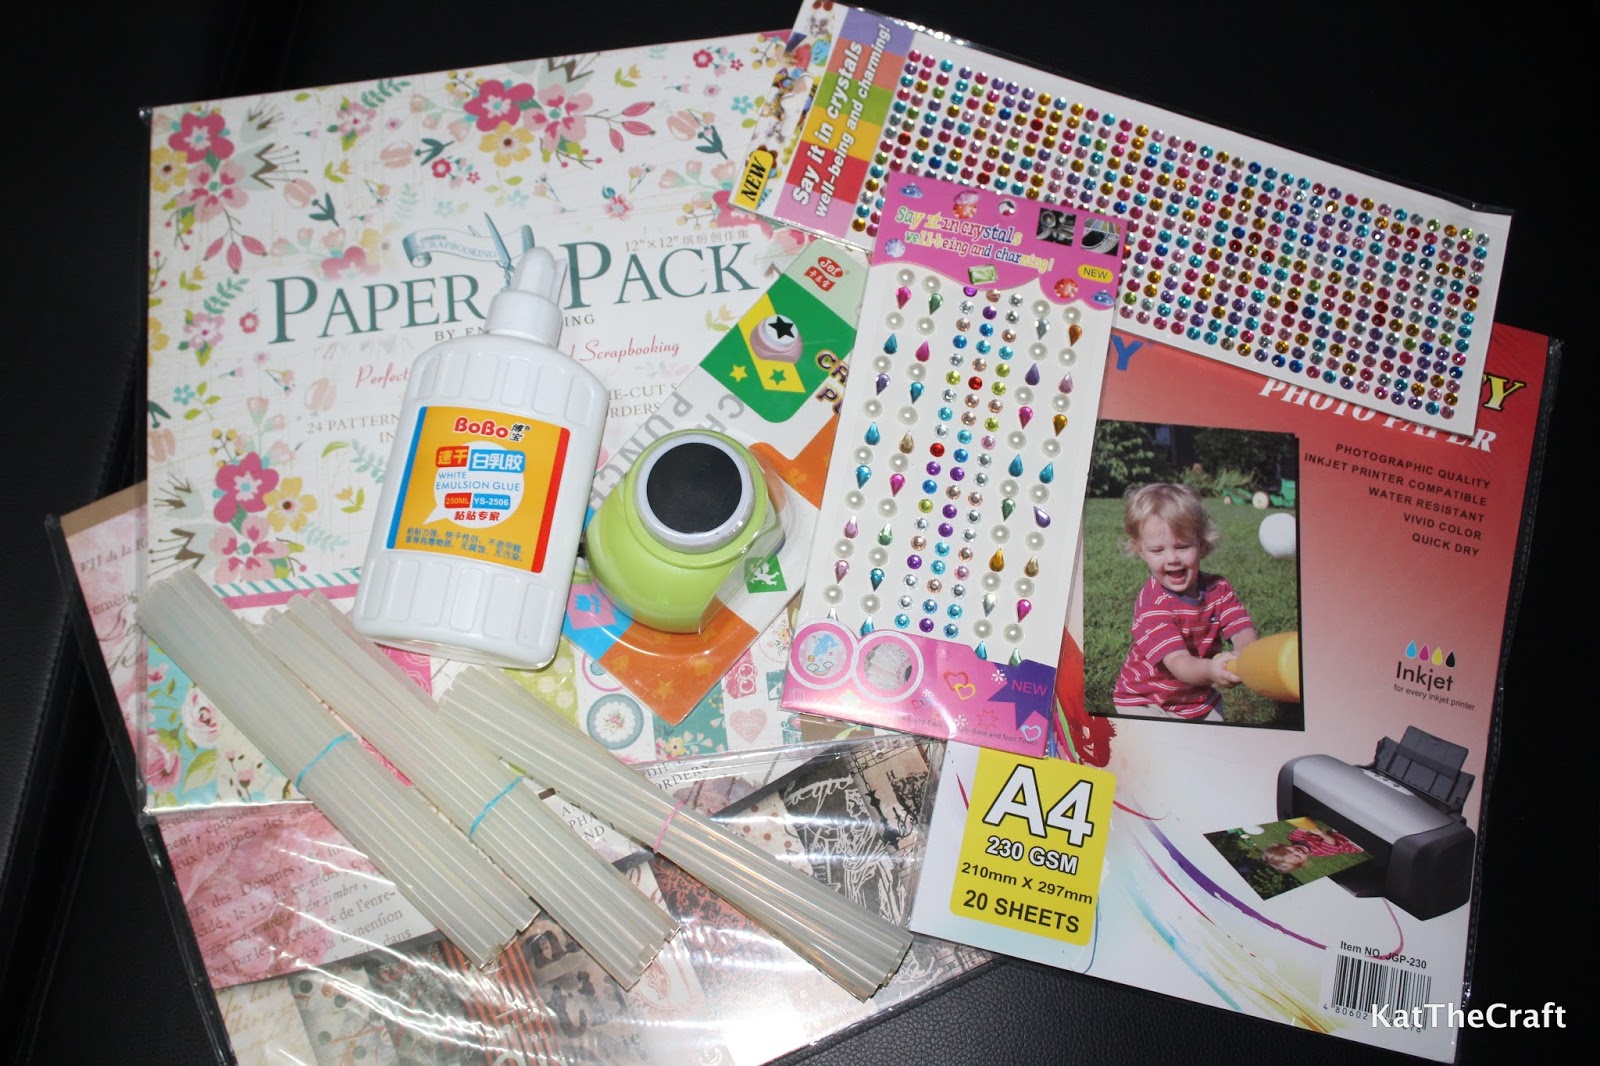
This time, I used this DAS white air dry clay. Easy to work with and it has a nice finish when it's already dry.


This is how it looks like after drying.


Just a few finishing touches needed here.


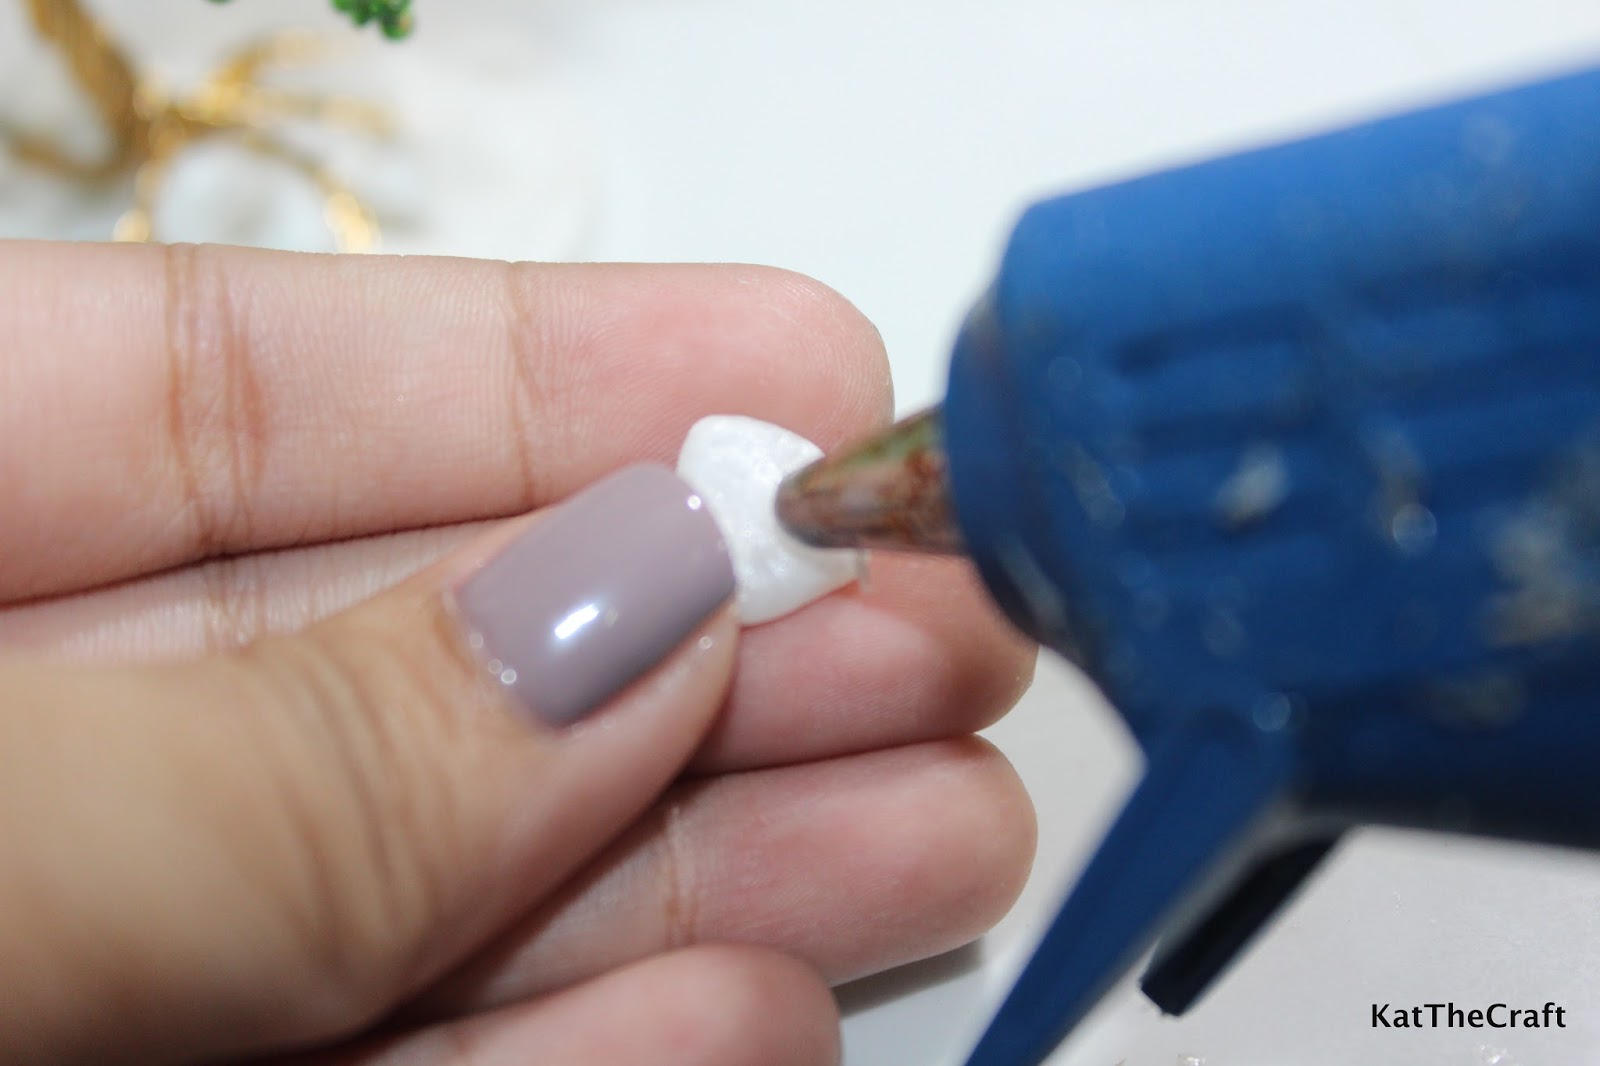
I added some pebbles using hot glue.


I put in a generous amount of white glue to secure the pebbles better and so I could add and scatter some beads here and there to give the effect of fallen leaves on the ground.


The white glue dried clear and the pebbles and beads are perfectly visible. I sealed and coated the base, including the bottom, with Mod Podge. And to add a little sparkle, I added a thin coat of Mod Podge Sparkle. I let it dry and it's...


...done!


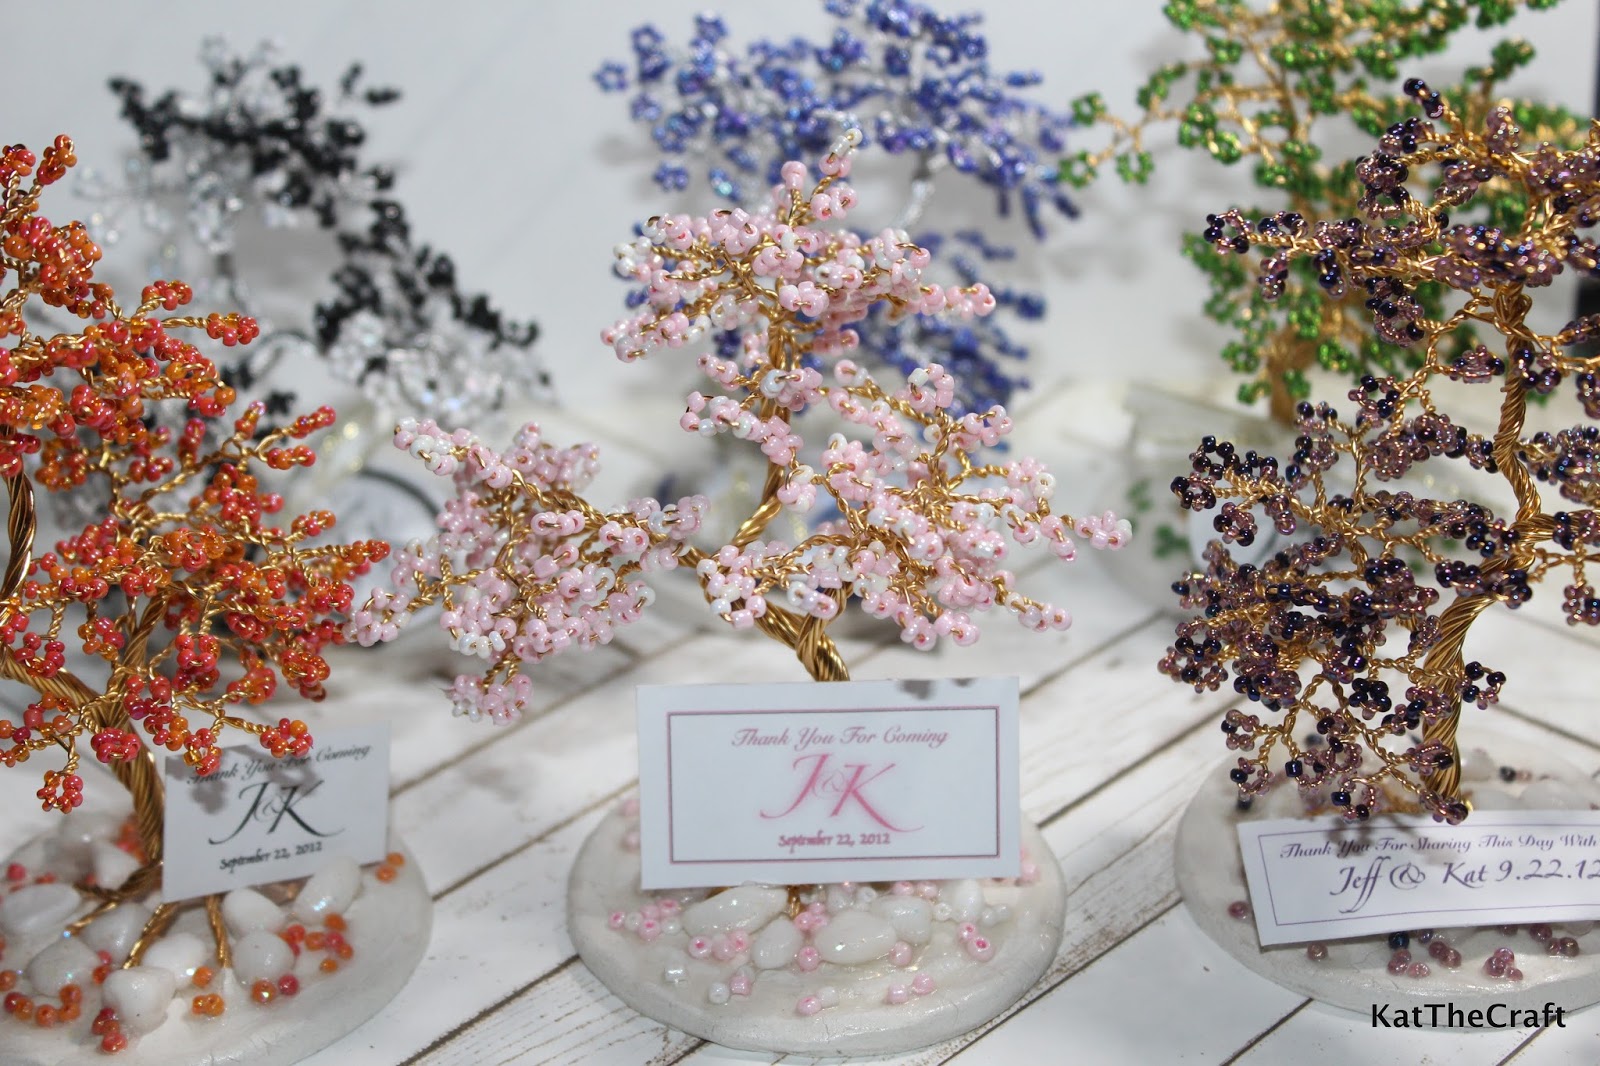
With bead colors to match your motif and a personalized "Thank you!" tag, you have yourself a nice party favor. I love this black and white one because it's our wedding motif.


Pretty, eh? I've made a few different tags just to see how they would look. The trees are 3 to 4 inches tall, their heights vary because of the differences in the design and form of the branches but they all have the same number of leaves and branches, and same lengths of wire used.

I will make more of these, as samples, when I get the time and let's see if I can get some people to make my creations part of their lovely events. Fingers crossed.

I hope you enjoyed this post. Thanks for dropping by!


Read More »

Wednesday, March 9, 2016

Paper Craft, Scrapbook Supplies - 168 Mall, Divisoria


We'll be attending a wedding next month where I'm one of the Matrons of Honor and my little girl, Jordana, is going to be the little bride. The motif is red and we can get our own dresses with the design we want. For Jordana, we'll have a little wedding gown made specially for her, but for me, I just decided to get one off-the-rack as I probably won't wear it again. So, my sister, who's also part of the entourage, and I visited 168 Mall in Divisoria where there are lots and lots of ready made bridal gowns, evening gowns, cocktail dresses, and the likes. The traffic was as bad as usual, our brother drove us there, but fortunately we both got what we went there for and I bought a few more things. 


It’s always a challenge to go to Divisoria so whenever I get the chance to visit, I make sure that the trip is always worth it. So, I walked around a bit after our main purpose there to buy a few stuff and I found this store selling arts and crafts, and school and office supplies. I got excited when I saw that they have stuff I can hoard for future use. I took this picture so I could easily find the store the next time I get to go to Divi.  I forgot to ask what the stall number is but it’s easy to find as this store is located at the corner and start of this hall, Pasilio 2M, just below these signs.


I got two packs of 12 x 12 inches patterned paper, each pack costs Php 150 (a little over $3) and contains 24 sheets of patterned paper and three die-cut sheets. There were lots of packs with different designs to choose from, they also have the 8.5 x 11 and 6 x 6 sizes.


I love the vintage vibe of these patterns, like they're part of a journal or a collection of someone from a horror film.


These are the die-cut sheets, most of the patterns have shiny embossed designs. One die-cut sheet like this is already worth Php 50 (over $1) from the book store I usually visit. This is a really good find for me.


Same goes for this other pack, beautiful sheets of die-cuts and patterned paper.


These stick-on crystals are good for scrapbooking and designing girly stuff. I got the big pack for only Php 50 (over $1) and the smaller one for Php 35 (about $0.75).


I'm so happy with this find. For only Php 180 (a little less than $4), I got this big round puncher. The size of the circle is about 3.5 cm. This is great for making round gift tags.


Each bundle of hot glue sticks costs Php 30 and contains 10 sticks, only Php 90 (a little less than $2) for all three. This 250ml bottle of white glue is only Php 45 (about $1).


This pack of 20 sheets of A4 size photo paper is also a good find, only Php 85 (less than $2) which is really low compared to mall prices. 

There were other stuff that I was also thinking of buying but I didn't think they'll be much use for my projects. There were color pens, colorful stickers, punchers with different patterns, stationery set, stencils, and a lot more. Sadly, they don't have distress inks which I really want to have. 

Verdict: Another fruitful Divisoria visit. I'll surely be back, hopefully within this year, before my supplies get depleted.  

If you have a paper craft hobby and you're here in Manila, give Divisoria a shot and it might be a nice surprise for you to find stuff with very low prices compared to your regular craft stores and I think this store at 168 Mall would be a good place to start.

Thank you for dropping by. Have a nice day!


Read More »

Friday, March 4, 2016

Crochet Mittens for My Cute Little Kitten


We don't have winter here in the Philippines but I made a pair of mittens for my little girl. Why? Because of that Three Little Kittens song. You know, those three little kittens who lost their mittens, found their mittens, soiled their mittens, and washed their mittens. Well, Jordana, my cute little kitten, loves the song so much, she knows all the words and one day she just asked me, "Mama, let's buy mittens tomorrow, please?" She knows the word 'buy' already, haha. I know that it just means 'get' for her but she knows that if we don't have it in the house, the term to use is buy. I guess she thinks it would be more enjoyable to sing when she has props. Anyway, I have all the materials so I decided to just make my daughter her own mittens. I like making stuff for her, she's so appreciative.

I'll be sharing here how I made this cute pair of mittens, the process and technique can be used with any size or style you want but every count here is based on the size and shape of my toddler's hand. This is only a guide, you can just easily adjust the stitch counts or number of rows according to the size or shape you want to make and the materials you're using. If you feel that the next row should already be bigger, make some increases, if smaller, make some decreases. As you may see, this is for someone who already knows how to crochet and is familiar with basic stitches but it's still on the easy level.


Materials:
Yarn (I used an unusual one, it's a loosely plied acrylic yarn I got locally)
Crochet hook (I used 1.60 mm sized hook)
Scissors
Tapestry needle

Terms used:
st - stitch
sl - slip stitch
dc - double crochet
hdc - half double crochet


Start with the cuff.
Chain 7
Row 1: dc on the 3rd chain from the hook, dc in each stitch across, chain 2, turn
Row 2 and the next rows : dc in each stitch across, chain 2 turn
Last Row: dc in each stitch across (no chain 2)


I did rows based on the size of my baby's wrist. I ended up with a total of 20 rows.


Have the ends meet and join by doing slip stitches across. 


The side with the joining stitches is now the wrong side, turn the work inside out to prepare for the next step. We now have a round cuff. We'll be working on the edge of the cuff to start the hand part.


Round 1: 2 hdc in each dc row on the cuff. (40 sts.) Work in rounds, I always do because I find it easier. Don't forget to use a stitch marker when working in rounds.


Round 2-4: hdc in each stitch around (40 sts.)

Since this is for my baby and she's here with me, I just kept on checking the fit. It showed on our fitting that an increase on the number of stitches should be next.

Round 5:  *3 hdc, increase on the next*, repeat from * to * around. (50 sts )
Round 6-8: hdc in each stitch around (50 sts.)


I checked the fit again and the next step would be the preparation for the thumb provision. I measured the space needed for the thumb and marked the stitch where it ends.


Round 9: Chain 6 and sl to the stitch on the other side to form the thumb hole as shown in the picture, hdc in each stitch around. (44sts, *12 hdc from the previous row goes to the space for the thumb hole, 50-12 =38 plus the 6 chain sticthes, thus 44sts.)


Continue working in rounds, the next row should include the 6 chain spaces.

Round 10: hdc in each stitch around (44 sts.)


This is the bigger part, the one for the rest of the hand. I could continue working on this but I decided to work on the thumb just in case there would be an adjustment needed, if the hole is too small or too big, so I won't need to undo a lot of work. So this part is to be continued....

(Or you can go ahead and continue on Round 11 shown several lines below and finish, and come back for the thumb part if you wish.)
  
Now, working on the thumb. I got the other end of the yarn from the cake so I could start on the thumb without cutting the yarn used on the bigger hand part. 


Slip knot and jojn using sl. It can be joined in any stitch, I just chose to start the round in the beginning of the previous row of hdcs. 


Hdc in the same space where the joining sl is, hdc in each stitch around. There should be 18 sts, the 12 hdcs from the previous row and 6 sts from the chain dividing the thumb and the bigger part. Continue in rounds, hdc in each stitch around. After the 4th row, still working in rounds, decrease around continuously until it  closes. you can turn it inside out before weaving for a tidier finish, cut the yarn, fasten off, and weave in using tapestry needle.

... Continuing the hand part.


Round 11-12 : hdc in each stitch around (44 sts.)
Round 13: * 2 hdc, decrease*, repeat from * to * around. (33 sts)
Round 14: hdc in each stitch around
Round 15: *hdc, decrease* repeat from * to * around (22 sts)
Round 16 onwards: decrease around continuously until the hole is small enough to close. 


Cut the yarn, leaving enough length for weaving and fastening, turn the mitten inside out and work on the wrong side. With a tapestry needle, close it if there's still a small hole showing from the last round, fasten off, and weave in.


If it's a pair of mittens you need, just make another one using the same process, there's no print or design so it can be for either hand.


As expected, Jordana enjoyed the mittens very much. She was singing the kittens song nonstop. When the song says lost their mittens, she would leave the mittens on the floor pretending she lost them, when the song says found their mittens, she would pick them up and show them to me, well, you get the picture. It was so fun watching her. Simple things really make her happy. While I was still crocheting, she already knew that I was making her mittens since I kept on checking the fit on her hand, she actually sat beside me and watched for a while like she's waiting for me to finish, so cute. She's now wearing her mittens almost all the time but she would take them off when she's having a hard time doing something, she even fell asleep with her mittens on, lol. This would probably last for a few more days till she moves on to a new toy.  I love that this simple thing, which cost us nothing, brought her so much happiness. :)


Read More »

LinkWithin

Related Posts Plugin for WordPress, Blogger...