Monday, October 19, 2015

How to Make Mini Book Charms

Harry Potter Mini Book Charms
I still have a hangover from the release of Harry Potter and the Sorcerer's stone: The Illustrated Edition and after rereading the whole series for the nth time, I got inspired to make this project, mini Harry Potter books.

Of course you can choose any book you want. I showed my finished work to my sister and niece and they right away requested for the mini versions of their favorite books.


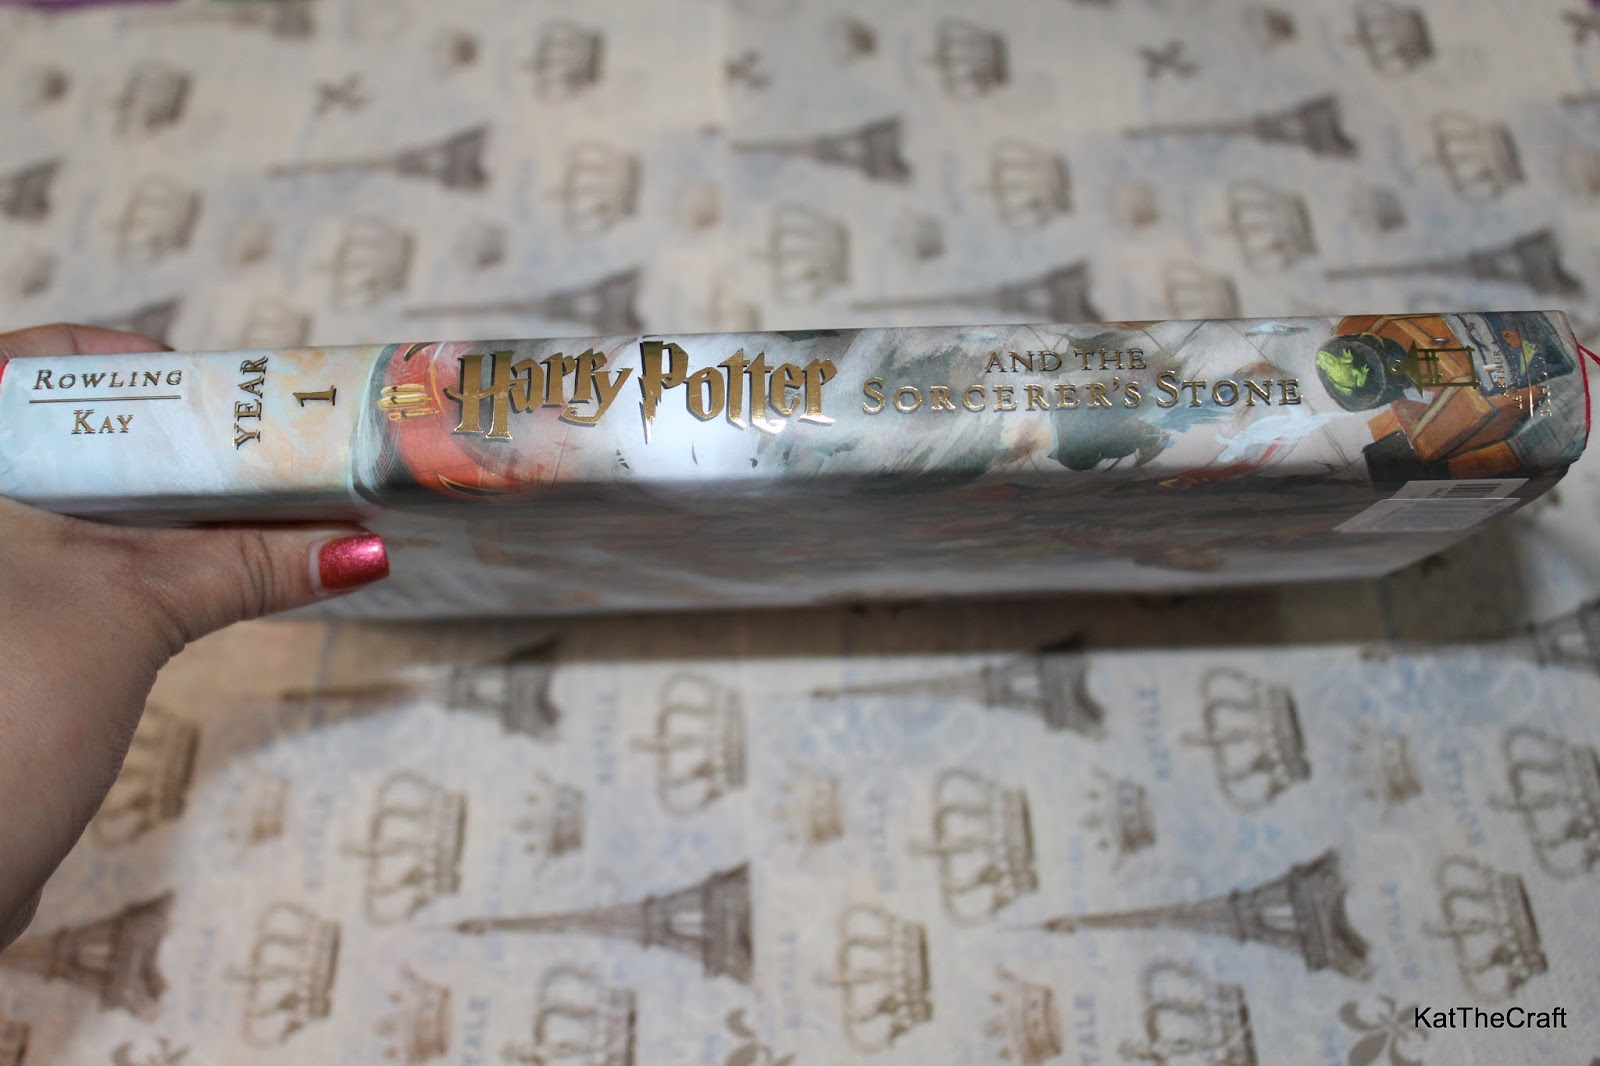
To make this literally small project, you have to prepare your book cover for printing, any book you like or you can just make a book design of your own. For me, it's the Harry Potter series, starting off with the first book. I found some book covers online that are ready to be printed but I wasn't satisfied with them, some were just illustrations used in the dust jacket without the other details like the small texts, barcode, etc. so I just scanned the dust jacket from my book to make a better version. 

***This step, scanning the dust jacket of the book, was done because my OCD kicked in and I got worked up with such small insignificant details that wouldn't even be obvious on such cute versions, haha. Skip this if you're happy with those book covers of your choice that you can find online.


If you already have your book cover, print it according to your desired size. I just used a regular copy paper.


Cut the print out and fold it on the right places. This now looks like a mini version of the dust jacket


Get a cardboard, I used a cereal box, and cut it according to the size of the print out. To form the spine, cut on the surface lightly, not all the way through, just so you can fold it neatly


Cover it with colored paper that will match the dust jacket. This will serve as the mini hardcover for the book.


Adhere the dust jacket carefully and smooth out any lumps. I used Mod Podge on this. Now the cover is ready.


Prepare the inside of the book, the book pages. I used these pages from the project I did a while back, a hollow book safe.


Based on the size of the book cover, cut out pages enough to fill the thickness of the book. As this is going to be a book charm, I left a space where I can put an eye or a head pin in. To do this, a few pages in the middle should have a width 1mm narrower than the others.


Use binder clips to make the pages stay in place, brush glue around the edges, and let it dry.


When the inside of the book is already dry and all the pages are stuck together, put in the pin in the space provided for it, make necessary adjustments on the pin using your pliers or wire cutter.


Apply glue on all sides.


Place the cover and press tightly. Let it dry, put objects on top as weights.


Coat with glaze or decoupage sealant for a nicer finish. 


Ta-da! A mini book charm.


Well, continuing with my Harry Potter fix, I did all the other books in the series.


A keychain I made using the mini book charm and also a mini Gryffindor scarf with the Deathly Hallows wire pin.


And, another way to show that you are a proud Potterhead, a bracelet with all the books in the series. Cute, eh?

This would be a great gift, don't you think? Specially for your bookworm friends. You can also use this as a pendant, a fancy bookmark charm, or just anything you can think of. 

I hope you enjoyed this tutorial and feel free to ask questions or share your ideas. Thank you so much for reading. Gotta go...  Accio Firebolt!


Read More »

Friday, October 16, 2015

An Early Christmas Gift for Potterheads - Harry Potter and the Sorcerer's Stone: The Illustrated Edition


After a long wait, it's finally here. The Harry Potter and the Sorcerer's Stone Illustrated Edition was released last week, October 6. This is the first book in the Harry Potter series by J.K. Rowling and the illustrations in this edition were done by Jim Kay. Of course, a Potterhead like me has to get a copy, so I did. 

I got mine from a local bookstore here, National Bookstore, for Php 1,679.00 (roughly $37). I wasn't able to pre-order so I called before going to the bookstore to check out if they have copies available, the first four branches I called said that they were already out since each store only received limited number of copies and it was already October 8 when I remembered, yeah, I should get a Remembrall. Those that I called first are the stores nearby, just 25-30-minute drive away, luckily, the fifth one I called which is just one hour away from us had one copy left and they agreed to hold it for me until the next day . Yup, I had to wait another day because my husband already needed to go to work that time and I wouldn't commute just to get the book, what's one more day right? (See, Honey, I'm not that hardcore of a fan like you always say I am.)

Anyway, I'm just glad I didn't travel far to get a copy. Now, I have this to read to my daughter, she's not interested in books without pictures, at least now I can read her one of my favorite books hoping she'll like it, too.

Most book readers have probably read this one, even those who are not fans of Rowling's works because this is her first book and usually, we read the first book of an author to check out his or her style specially if it's a series with great reviews, well, except for those who don't really wanna try because the genre or the book itself doesn't appeal to them at all. So there's really no need for me to say anything about the story, but if you insist, well, all I can say is - It's amazing!!!

Okay, so I'm just going to show you what's up with this book's newest edition. I haven't counted them but it's said that there are more than a hundred illustrations in this book and I took photos of some of my favorites.


This is the front cover with the gold texts and that magical Harry Potter font and with Harry and Hedwig beside the Hogwarts Express.


The spine, still with the golden texts.


The back cover with J.K. Rowling's note.


This nice red book cover will show when the dust jacket is removed.


The endpapers are also illustrated, with the Hogwarts castle.


It has these beautiful title pages and table of contents.


This spread deserves to be the first spread indeed, this is how I imagine Dudley as a baby, haha. The framed pictures are so funny.


I would love to have a larger version of this image, this is poster material.


Hagrid, The Keeper of the Keys!


This version of Diagon Alley looks messy to me but what do I know, I'm just a Muggle.


Draco Malfoy at Madam Malkin's. He's the first Hogwarts student Harry met but it's different in the film adaptation as this scene at Madam Malkin's was not included, it's the Weasley kids in the movie.


Harry's first time at Platform 9 3/4, enjoying the beauty of the Hogwarts Express and the magical chaos surrounding him.


Ron and Scabbers aboard the Hogwarts Express.


Professor Albus Percival Wulfric Brian Dumbledore, the greatest headmaster Hogwarts has ever had.


Interesting but I like the version of the sorting hat in the movie better.


Professor Quirrell and his infamous turban.


Snape, I mean Professor Snape, the Potions Master. This picture is quite scary.


Look closer....


Closer... his right hand seems to be disconnected, haha.


Harry vs. the troll. 


I love this informative illustration about trolls. See how tiny the troll's brain is? 


The golden snitch.


Hermione Granger with her bushy hair and bluebell flame in a jar.


Gryffindors, with Hagrid, supporting their house during the first Quidditch match of the year.


Harry and Dumbledore talking about the Mirror of Erised. 


Professor Minerva McGonagall, one of my favorite characters.


"He-Who-Must-Not-Be-Named" under Quirrell's turban, urgh, creepy! 


Gryffindors celebrating after winning the House Cup!


The book pages are colorful, those without illustrations have what appear to be blotches of paint.

I'm off to rereading the whole Harry Potter series, I've noticed that I do this every year, sometimes through audio books. So now, my schedule to reread would be everytime the illustrated version of a book in the series is published which was announced to be every year. Exciting, isn't it?

Thank you for dropping by. Bye for now my Muggle friends!


Read More »

Tuesday, October 13, 2015

Have a Wickedly Fun Halloween at Sky Ranch

Everytime we go to Tagaytay, we pass by that big Sky Ranch sign where people would pose to take photos. We haven't visited yet because my baby was, I think, still too young to enjoy the rides but now she's definitely ready to have some fun. We're all excited to go there, well, what's not to be excited about?

Among the premiere parks in the country, Sky Ranch is well known for its rides, food destinations and family-friendly ambiance. A project of SM Prime Holdings Inc, Sky Ranch Tagaytay is a 5-hectare leisure park right beside Taal Vista Hotel.
The entertainment complex and many dining establishments have made the park a welcome treat for those wishing to get away from the city even for just a day.
With the offer of family fun and adventure, you can choose from their well selected amusement park rides and activities. Their rides include the Sky Eye which is deemed one of the tallest Ferris Wheels in the country at 63 meters high, Super Viking, Sky Cruiser, Zipline and many more. For a complete list of rides see below.
Their new rides include the BUMPER BOAT, BOAT PARADE, CHALLENGER, and CITY RAIL.
Sky Ranch also provides you with one of the best views of Taal Lake and Taal Volcano. Gazebos can be found around the park for a relaxing and comfortable vantage point.
There are over a dozen dining establishments that will suit almost every palate from casual fast food to fine dining. Food establishments are open from 10am-10pm.
The Venue, an events place created by Sky Ranch for special occasions is 2,000sqm and perfect for any gathering.
All the facilities and amenities you could possibly need such as parking, a breast feeding station, clinic, ATMs, souvenir shop, etc are available.
As such, Mommy Bloggers Philippines will be enjoying Halloween this year at The Venue and having a day of fun with all that Sky Ranch has to offer. With their families, mommy bloggers will experience the excitement and amusement expected from a day destination leisure park, that is Sky Ranch Tagaytay.
Sky Ranch Tagaytay is open on Mondays to Fridays from 10am-10pm and Saturdays, Sundays, and Holidays from 8am-10pm.
Admission Ticket (Special Promo until further notice)
Php 50.00 – Weekdays (Mondays to Fridays, 10 a.m. to 10 p.m.)
Php 80.00 –Saturday, Sunday and Holidays (8 a.m. to 10 p.m.)

Parking rates:
Bike – Php30.00               
Car – Php50.00 
Bus – Php150.00

Gazebo:
Gazebos are available for rent. Guests may order food from our restaurants and dine in one of our spacious Gazebos with the cool Tagaytay breeze and the majestic view of Taal Volcano. Below are the corresponding gazebo fees:

Php 750.00 – Weekdays (Mondays to Thursdays)             
Php 1,000.00 – Friday, Saturday, Sunday and Holidays

Have a Wickedly Fun Halloween at Sky Ranch!

Halloween is one of the most anticipated events for families most especially kids who love to show their Halloween costumes and get freebies.

Expect lots of fun with games from dancing to a scavenger hunt and a mystery game! Five (5) participants in their best Halloween costume will be chosen to win special gifts!


·         For every purchase of ride tickets worth Five Hundred Pesos (P 500.00) single or accumulated receipts from October 25 to 31, 2015, customer gets one (1) claim stub and one (1) event pass. Halloween event will be on October 31, 2015.

·         Claim stub is equivalent to one (1) freebie (loot bag/merchandise item) to be redeemed from October 29 to 31, 2015.

·         Customers are encouraged to wear their best Halloween costume.


List of Sky Ranch Rides:
Sky Eye  - Php150.00
Sky Eye is 63 meters in height. Consisted of 32 air-conditioned gondolas that can accommodate 3-4 passengers per gondola, Sky Eye gives you a wonderful view of Tagaytay, its neighboring provinces, Taal Volcano and Lake for 10 minutes.
Guests Should Be
3 ft and above, 3 ft and below must be accompanied by a responsible adult
Age Interest
Kids, Tweens, Teens and Adults
Thrill Level
Small drops, Spinning
Super Viking - Php100.00
An open seated gondola which swings up to 90 degrees, back and forth. The ride can accommodate a total of 45 persons with 5 persons per row. This thrilling ride at the heart of Sky Ranch takes from 5-6 minutes.
Guests Should Be
4 ft and above
Age Interest
Tweens, Teens and Adults
Thrill Level
Big Drops, Thrill Ride
Carousel - Php 50.00
Get a 360-degree view of the whole Sky Ranch lot in an instant while riding in wooden horses and sleighs strategically located inside this spinning tent. Consisted of 4 sleighs and 24 horses, this carousel has two floors that could take you on a higher level of adventure.
Guests Should Be
3 ft and above, 3 ft and below must be accompanied by a responsible adult
Age Interest
Kids, Tweens, Teens and Adults
Thrill Level
Spinning
Sky Cruiser - Php100.00
A unique experience of seeing the wonderful view of Taal Lake and Volcano, Sky Cruiser gives its riders an exciting aerial ride where they can control their vehicle by pedaling it around the track. Each wagon can accommodate 2 riders at a time.
Guests Should Be
4ft and above
Age Interest
Tweens, Teens and Adults
Thrill Level
Spinning
Mini Viking - Php 50.00
Just like Super Viking, this Mini Viking gives guests a milder experience of being swayed up to 90 degrees. It can ride 10 to 12 guests per ride and each ride lasts for 3 minutes. This is an open seated gondola perfect for those who are not yet ready to take the much thrilling Super Viking
Guests Should Be
3 ft and above.
Guests below 3 ft must be accompanied by a responsible adult.
Age Interest
Tweens, Teens and Adults
Thrill Level
Big Drops, Thrill Ride
Express Train - Php 80.00
A relaxing and fun way to roam around Sky Ranch, this trackless Express Train goes around the area with 12-18 guests at a time. A perfect way to enjoy a fantasy land while enjoying the cool breeze of Tagaytay and the amazing train sound brought about by this ride. Sky Ranch has currently two sets of train for you to enjoy, the Thomas Train, which surely amazes kids and the Safari Train that is perfect for adventurous and thrill-seeking individuals.
This ride may take 9 to 10 minutes per ride.
Guests Should Be
3 ft and above, 3 ft and below must be accompanied by a responsible adult
Age Interest
Kids, Tweens, Teens and Adults
Thrill Level
Slow, Moving


Yay!!! Right? So put on your ready-to-have-fun shoes and head over to Sky Ranch for a fun-filled day. See yah!


Read More »

Monday, October 12, 2015

Storage Idea - Upcycled Milk Can


Storage containers from recycled milk cans.
This is a quick project I did earlier because I needed a place to store my crochet thread balls. These balls are of uneven shapes and sizes since I've already used them for my previous projects which makes it tricky to pile them up on a shelf. 

I usually make boxes for storage purposes but this time I'm trying out a different material, a milk can. We have lots of these since I have a 2-year old daughter who consumes two cans of 1.6kg powdered milk every month. We usually just throw empty cans away but recently I started saving them because I'm planning to start gardening and I want to use them as planters. Well, that's me, I like recycling things. 

To make this easy little project, you will need the following:

- Milk can - Okay, not necessarily milk can, you can use any tin can, I just like this because it's the biggest I have.
- Wrapping paper/scrapbook paper
- Decoupage sealer/ glue - I used Mod Podge
- Can opener - If your tin can has that friction ring for the lid and you want to open it completely.
- Scissors


First, clean your tin cans. This picture shows that mine wasn't cleaned yet, I did that after opening the can completely by removing the friction ring using a can opener. Then I washed it multiple times, just to make sure that there'll be no leftover milk powder inside and dried it.


Now, it's clean and shiny, and ready to be covered with a wrapping paper, which is the next step.


Check out the size of your paper to see how much you will need to cover the whole can around up to the top and bottom edge. Cut the paper according to your measurements.

Paint the can with the sealer/glue and adhere the paper. Lay the paper carefully and smooth out any lumps or ripples along the way. It dries pretty quickly so I didn't paint the whole thing at once, I only did half first and adhere the paper, then did the other half. 


Add a coat of decoupage sealer for a nicer finish, also to protect the surface from peeling off easily. You can add decorations for a prettier look. And, it's done.


I made another one and would probably make more later since I have a lot more stuff to store and organize. Now my crochet thread balls won't be jumping out of the shelf where I'm keeping them, it's these cans that I'll be putting on there, a more organized craft area for me. Yay!

An easy and useful project, right? I hope you like it. Have a nice day!


Read More »

Friday, October 9, 2015

Braving Divisoria for Craft Supplies

I was finally able to convince my husband to accompany me to Divisoria a.k.a Divi, the bargain shopping capital of the Philippines, last weekend. It was my daughter's schedule to stay at her grandpa and grandma's place, my inlaws', for the day so we're free to brave the jungle that is Divi. 

We hate driving there because of the heavy traffic but commute wasn't an option since it's too hard to carry heavy bags of our purchases when inside a crowded jeepney or train. So we went and drove to Divi, prepared to endure the congested roads of Manila, and as expected there were traffic jams everywhere and it took us almost three hours to get there. We parked at Tutuban Center where we also spent about 30 minutes roaming around just to get a parking space. 

I wasn't at all surprised that Divi's much more crowded now since it's already October and people are going about their Christmas shopping already. We went straight to Tabora St. which is where the shops selling craft supplies are located.


Several shops along Tabora St. sell yarns and crochet threads of different brands. I always use crochet thread for my projects instead of chunky yarns so I bought three boxes of Monaco crochet thread balls in solid colors and one box of multicolor ones, there are twelve balls per box. Checking out a few shops, their prices for a ball of this brand range from Php 30-33 for solid colors and Php 32-36 for multicolor balls and discounts are given if you buy by the dozen. I got mine for Php 315 per box of the solid colors and Php 350 for the multicolor. Even without discounts, the prices are so much cheaper compared to those sold at craft stores in the mall with prices ranging from Php 50-60.


I have this cross stitch project in progress that still requires about thirty more embroidery floss skeins so I brought with me a list of the colors I needed and searched for a shop selling DMC. I didn't look around much to compare prices among the shops there since I only needed a few, I bought all these from the first shop I saw with a DMC sign. Each skein costs Php 14 and only Php 13.50 if you buy twelve pieces or more. 

Now, comparing again to mall prices, the craft stores I frequent for embroidery floss are DMC Creative World in Megamall which sells for Php 16.75 each skein and Heavenly Stitchin' Moments in SM North Edsa selling each skein for Php 19, the price difference isn't much. So I would just prefer going to the mall for my cross stitch needs, it's not worth it going to Divi for this.


Still along Tabora St., I got these different sized wooden hoops and feathers. I think you can guess what these are for. You're right, dreamcatchers! I'm planning to make lots of dreamcatchers for Christmas, nothing says "love" like a handcrafted gift.

I haven't checked the diameter of each hoop yet but I have three sizes and I think the biggest one is 6 inches in diameter. The smallest one costs Php 7 each, next one is Php 8, and the biggest is Php 10 apiece. I bought ten pieces for each size.

The feathers are connected to a string like a feather boa which is around 1 meter long and costs Php 70. There were other colors available but I just chose white since I'm still not sure about the color combinations I'll be doing for my project and I think white would work for all. 


These pebbles are for my wire tree projects. Each pack is Php 30 but you can buy four packs for Php 100. I got these from a shop on the second level of 168 Mall. 


These bonsai pots are also for my wire trees. They're still wrapped in newspaper and kept safe since I won't be using them yet. I'll start making wire trees next month, also for Christmas gifts. These pots I bought range from Php 50 - Php 80 and I got them from Anding's Toy Store at Tutuban Center. 


Lastly, I got these lovely papers from Geppco Paper Supply. I bought a 250-sheet pack of colored paper for only Php 150, 100-sheet pack of card stock for Php 165, and two packs of colored paper with patterns, there are 120 sheets in each pack which costs Php 125. 

That big roll in the photo is a roll of five chipboards, of course they don't come in rolls, I just asked the sales assistant there what is the thickest chipboard that we could roll up so it would be easy for us to carry. The boards are priced according to thickness or weight, prices range from Php 5 - 30, I think they have about ten different groups, the one I got is Php 13 each board. The size of the board is 26" x 38".

They also have piles and piles of gift wrapping paper and there were so many different designs to choose from. They sell for a minimum of twenty-five sheets per design for Php 70, that's only Php 2.80 per sheet. I only bought two designs which I'm not sure where to use yet. 

I found out about this store from a blog called Life as Eu Know It, it has a picture of Geppco along with other shops in Divi that you might find helpful if you're planning to go there. Another blog that's a great guide when it comes to Divisoria bargain hunting is Ang Istorya Ng Divisoria which has lots of helpful photos and information that you can use.

So if you're planning to visit Divisoria, you gotta do it soon, it's starting to get crazy in there since Christmas is just around the corner. This would be my first and last visit there this year, anyway, my craft supplies are good for the next few months. 

Thanks for reading. Bye!


Read More »

LinkWithin

Related Posts Plugin for WordPress, Blogger...