Showing posts with label crochet necklace. Show all posts

Saturday, March 28, 2015

Mickey Mouse Inspired Crochet Necklace


My Mickey Mouse Inspired Necklace
My little girl loves Disney Junior. In fact, that's the only channel we are tuned in to when she's awake, even when she's busy playing with her toys. She likes Mickey Mouse Clubhouse the most, specially Mickey's introduction, the opening theme, and the Hotdog song. So, the obvious choice for her first birthday party's theme is Mickey Mouse Clubhouse. And Jordana as Minnie.


I just wanna share it because she's so adorable, okay, I'm her mom, I wouldn't say otherwise, and for me, all babies are adorable. 

Moving on. So, this birthday party and watching too much Disney inspired me to make some Mickey stuff, I made her a beanie and I made myself this necklace. I'm still young at heart, and a lot of people from all ages love Mickey Mouse anyway.

I was so excited to finish my necklace that I forgot to take pictures while I was making it. Anyway, it's easy to make as long as you have the basic knowledge in crochet. I used 1.50mm crochet hook and cotton crochet thread. 

To make the tube necklace, using the black thread first, I started with a magic ring, 12 single crochet stitches on the first row and continued with single crochet in each stitch working in spirals. There's no need for counting the rows and stitches. I stuffed the tube, as I go, with fiberfill.  I changed the thread to red when the tube was a little over a quarter of my desired length, I wanted the red part to be a little bit on the right side. I also kept on trying it on my neck as I continue just to check how it would feel and look like, I don't want it to be too much of a choker. When the red part was about 4 inches long, I changed the thread back to black until the end of the tube. The necklace is 18.5 inches long. I crocheted a button hole at the end and I just sewed a mushroom button on the other end .


I used two strands of crochet thread in making the circles for them to be stiffer. I just crocheted, with black thread, one circle with 1.8 inches diameter, two 1.3 inches circles for the ears and, with white thread, two half inch circles. I sewed seed beads on the whole surface of each circle. I attached the ears on the side of the big circle by sewing then sewed the big circle and the two white circles to the red part of the necklace.


This is how it looks like when worn. I think it's really cute and would be a nice gift for Mickey fans. This one is for me but I'll see if I can make other designs soon and list them on my online shop. 

I think it's fun making accessories inspired by our favorite characters. I hope you like this post. Thanks for stopping by! See ya real soon! (In Mickey's voice, lol.)


Read More »

Tuesday, March 10, 2015

MIY - Necklace with Crocheted Wire Pendant and Beads

I recently made plenty of crocheted beads, as shown in my blog post here, and I finally stopped making more to start making necklaces, instead. Just now, I finished two necklaces with the same design, I wanted to see it in two different color set.

My yummy pink necklace.
It's an easy piece to make, you just need a few materials. First, I'll show you how I made the ring which can be used as a lone pendant, too.

You'll need: 

round nose pliers
yarn or crochet thread
crochet hook
pearls (I used 2 different sizes, 3mm and 5mm)
jewelry wire 


Using your round nose pliers, form a small loop, this will serve as the ring where you will attach the jump rings to.


I used this mini perfume bottle to shape the ring, it has a 1.5 inches diameter.


Insert the pearls, whichever order or style you want, and form another small loop using your round nose pliers before cutting the wire. (You can skip forming a second small loop for the connector rings if you're planning to use it as a pendant.)


Single crochet along the ring, I used three strands of crochet thread, different colors. Don't worry if the wire is still a bit loose, crocheting around it will do the trick, just make sure that you'll crochet over all the parts specially the ends of the wire.


This is the finished work. I connected it to the rest of the necklace using connector or jump rings.


You can use jewelry wire or eye pins to connect the beads. I used a long eye pin on the group of three beads and a short one on that single bead.

I wanted to use a ribbon for the necklace but I don't have the right color so I crocheted one with a very simple pattern.


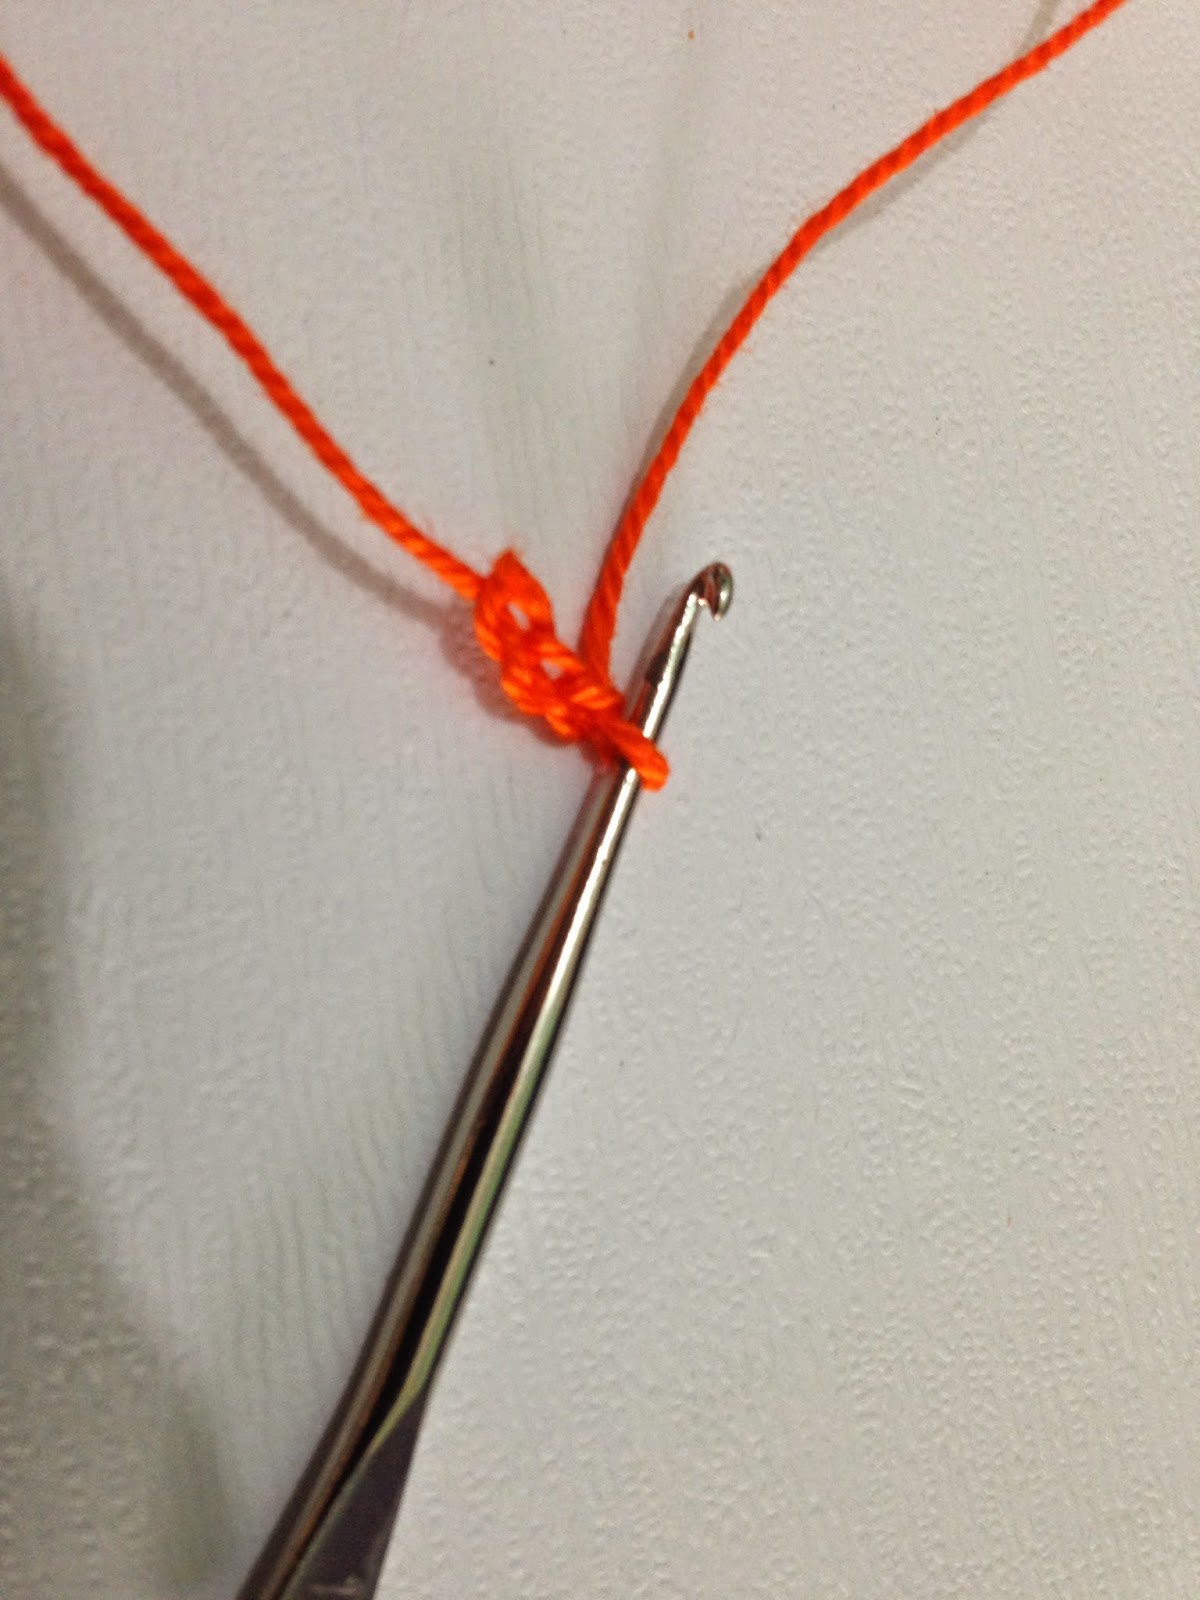
 Chain 3.
Row 1: single crochet on the second stitch from the hook, single crochet also on the last stitch, chain one, turn.


 Row 2: two single crochet, chain one, turn. 


Repeat until you reach desired length.


Connect your crocheted ribbon to the rest of the necklace using jump rings. Attach necessary findings like chain link, lobster clasp or toggle lock, whichever you have in your stash. 


Here it is, my Oh, so Orange necklace. For those who don't have time to make it yourself, this is sold on my online shop for only Php 150 (roughly $4) but just available for shoppers here in the Philippines for now. I haven't tried shipping to other countries yet but I hope I'll be able to in the near future. 

If you have any questions, feel free to leave a comment or send me a private message. Thanks for dropping by!

Read More »

LinkWithin

Related Posts Plugin for WordPress, Blogger...