Showing posts with label crocheted beads. Show all posts

Tuesday, March 10, 2015

MIY - Necklace with Crocheted Wire Pendant and Beads

I recently made plenty of crocheted beads, as shown in my blog post here, and I finally stopped making more to start making necklaces, instead. Just now, I finished two necklaces with the same design, I wanted to see it in two different color set.

My yummy pink necklace.
It's an easy piece to make, you just need a few materials. First, I'll show you how I made the ring which can be used as a lone pendant, too.

You'll need: 

round nose pliers
yarn or crochet thread
crochet hook
pearls (I used 2 different sizes, 3mm and 5mm)
jewelry wire 


Using your round nose pliers, form a small loop, this will serve as the ring where you will attach the jump rings to.


I used this mini perfume bottle to shape the ring, it has a 1.5 inches diameter.


Insert the pearls, whichever order or style you want, and form another small loop using your round nose pliers before cutting the wire. (You can skip forming a second small loop for the connector rings if you're planning to use it as a pendant.)


Single crochet along the ring, I used three strands of crochet thread, different colors. Don't worry if the wire is still a bit loose, crocheting around it will do the trick, just make sure that you'll crochet over all the parts specially the ends of the wire.


This is the finished work. I connected it to the rest of the necklace using connector or jump rings.


You can use jewelry wire or eye pins to connect the beads. I used a long eye pin on the group of three beads and a short one on that single bead.

I wanted to use a ribbon for the necklace but I don't have the right color so I crocheted one with a very simple pattern.
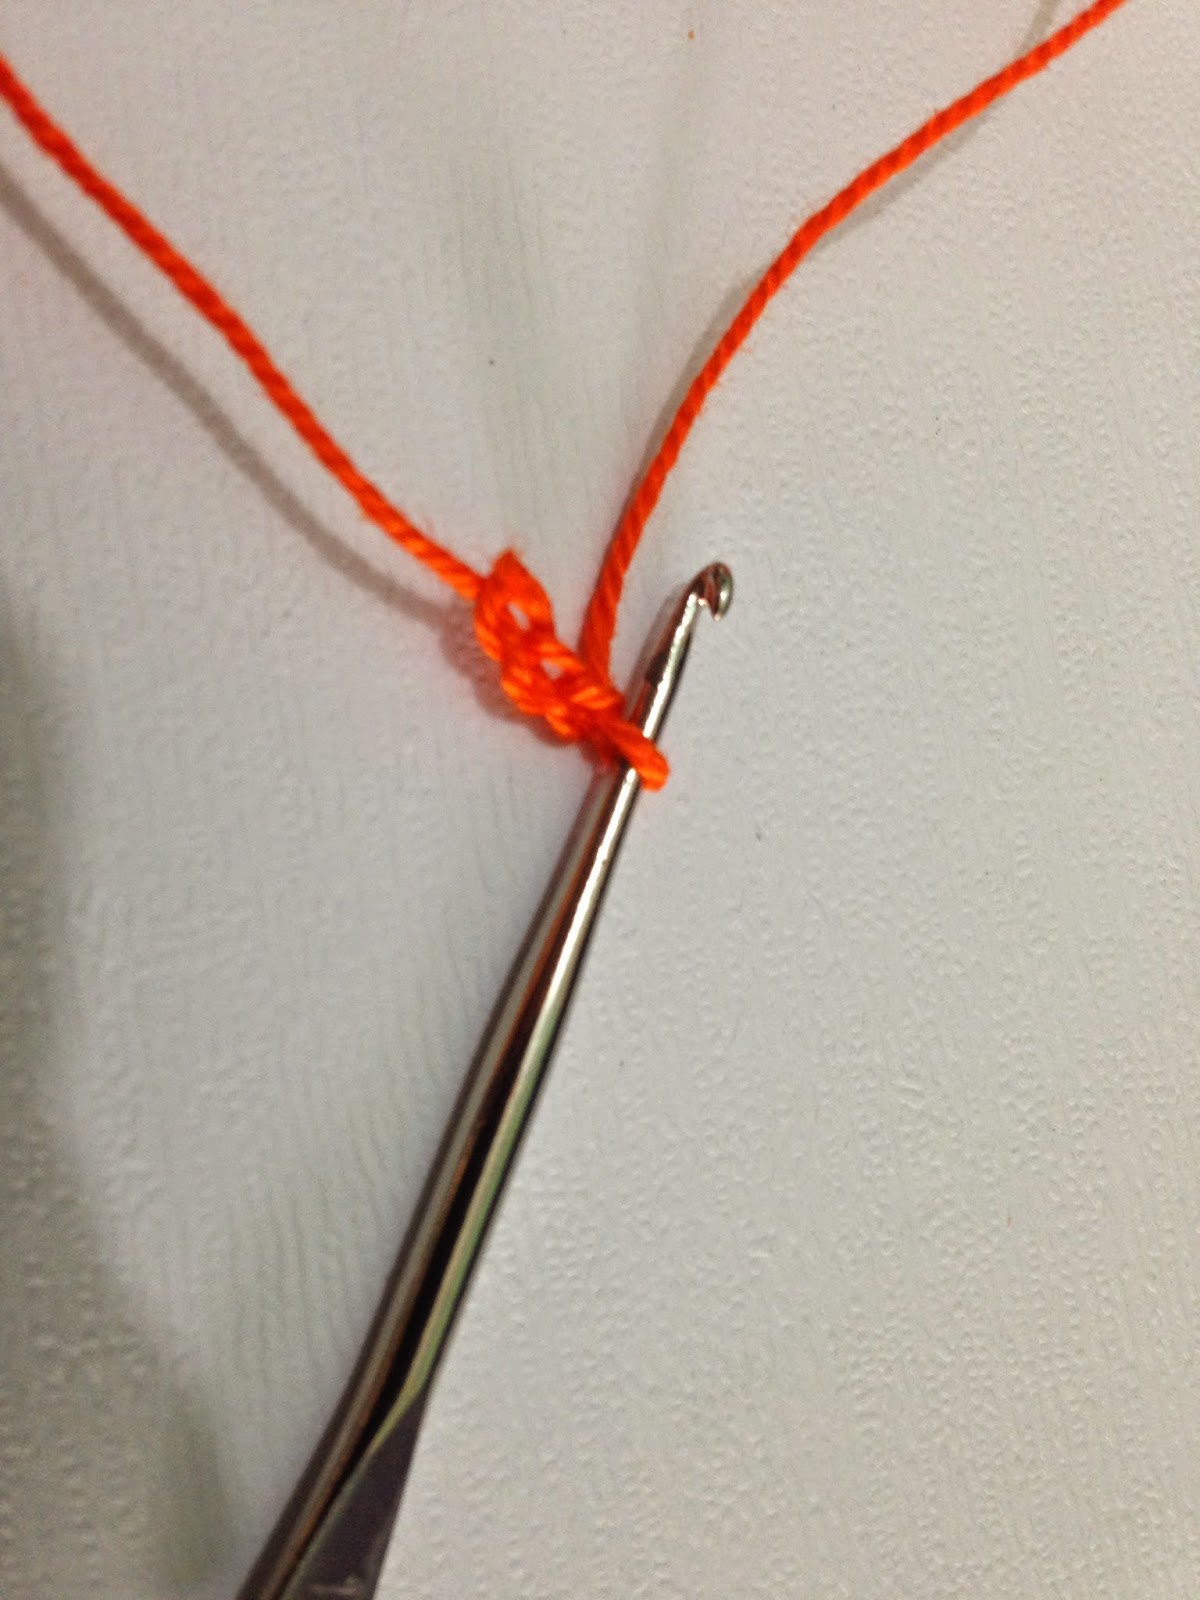

 Chain 3.
Row 1: single crochet on the second stitch from the hook, single crochet also on the last stitch, chain one, turn.


 Row 2: two single crochet, chain one, turn. 


Repeat until you reach desired length.


Connect your crocheted ribbon to the rest of the necklace using jump rings. Attach necessary findings like chain link, lobster clasp or toggle lock, whichever you have in your stash. 


Here it is, my Oh, so Orange necklace. For those who don't have time to make it yourself, this is sold on my online shop for only Php 150 (roughly $4) but just available for shoppers here in the Philippines for now. I haven't tried shipping to other countries yet but I hope I'll be able to in the near future. 

If you have any questions, feel free to leave a comment or send me a private message. Thanks for dropping by!

Read More »

Friday, March 6, 2015

Crocheted Beads - Level Up Your Plain Wooden Beads

I have a lot of ideas for crochet statement necklaces right now that I can't choose what to make first. I know some of you may have felt that way before. I checked out my supplies and thought of using my pearls of different colors, then I saw these lovely wooden beads that I can beautify and mix with the pearls for the necklace I'm planning to make.

These are 20mm wooden beads I got from one of the shops along Tabora Street in Divisoria.
It's easy to crochet over a wooden bead. If you are familiar with making a beanie or a hat, it's as simple as making one but the circumference is much smaller since instead of basing it on the size of a head, it's the size of the little bead you have to consider, and just close it by decreasing stitches. I had several tries before I got the best fit for my crocheted beads.

I found this pattern really helpful as a guide, you can just make adjustments according to your preference, bead size, and the yarn or thread you're using, like I did since I really want my work to cover the whole bead as much as possible, not too many parts where the color of the wooden bead would show, and also I'm using Monaco mercerized cotton crochet thread instead of a thick kind of yarn, so I did need to change some stitch counts along the way. Click this link if you wanna check it out.

These are what I used, Monaco mercerized cotton crochet thread and 1.40mm hook. 
For my 20mm beads, thread, and hook size I used, the pattern for the bigger bead from the link above is good but I made 7 rounds of 24 sc. But like I said, it all depends on your materials and your gauge so just tweak some things as you work. The most important thing is that you'll be happy with your finished work.

My colorful crocheted beads.
There they are. I find them absolutely cute. The best thing about making this is that if you need a bead of a particular color and you don't have one in your stash, you can just make one as long as you have the yarn of the color you want.

If you don't have wooden beads, you can still make crocheted beads by using fiberfill stuffing. The steps or pattern is the same although using fiberfill is a bit tricky to get the perfect round shape, the trick is to make sure that the space is stuffed fully so it won't get deformed and if it does get deformed just pinch or mold it back to shape. This tutorial may help you if you're going use stuffing to make your beads.

I hope you get to make your own crocheted beads soon, they're perfect for your jewelry making needs. I would also really love to see the jewelry you made using crocheted beads. I'll be posting mine as soon as I got one done. Happy crocheting!


Read More »

LinkWithin

Related Posts Plugin for WordPress, Blogger...