Showing posts with label crochet bracelet. Show all posts

Saturday, March 21, 2015

How to Make a Colorful Round Braided Crochet Bracelet

Here's another crochet project I just made earlier. I used shades of yellow and green for a lighter vibe fit for summer. Yes, it's summertime here in the Philippines, hot, hot, hot.


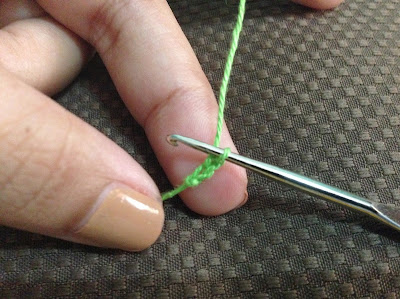
This is a round braid using four strands of flat crocheted cord. So first, I needed to crochet flat cords. I used cotton crochet thread and 1.40mm hook. This is the simple process:


Chain 2.


Single crochet on the second chain from the hook.


Chain 1.


Turn.


Repeat single crochet, chain 1, turn, until you reach your desired length. I made my cords up to 7.5 inches, with this crochet thread and hook size, the width ended up approximately 4mm.


These are the finished 4 flat cords. I left a longer tail on both sides of one cord for stitching later.


With a needle and using the longer tail, I stitched the four cords together.


Now, they're ready to be braided. I started a picture tutorial for braiding but it seems that it's not as good as a video tutorial. Anyway, this video from Beadaholique channel in YouTube was also where I learned four strand braiding. Click this link to check it out.


After I finished braiding, again using a needle and the long tail, I sewed the cords together. The braid's finished length is 6 inches.


On to attaching my findings. I connected an eyepin to each end of the braided cord, secured by tying the tails around the pin. 


I then chose what end caps to use. I tried these cones on but they seem a bit big for a short bracelet so I just made these wire end caps.


I just twisted jewelry wire around the tip of a pen up to the size I needed.


I applied glue on the cord for more secured ends.


I put a small round bead, made a small loop using a round-nose pliers and twisted the eyepin to finish.


Then the jump rings, clasp, and chain links for adjustment. I also added this cute padlock charm.


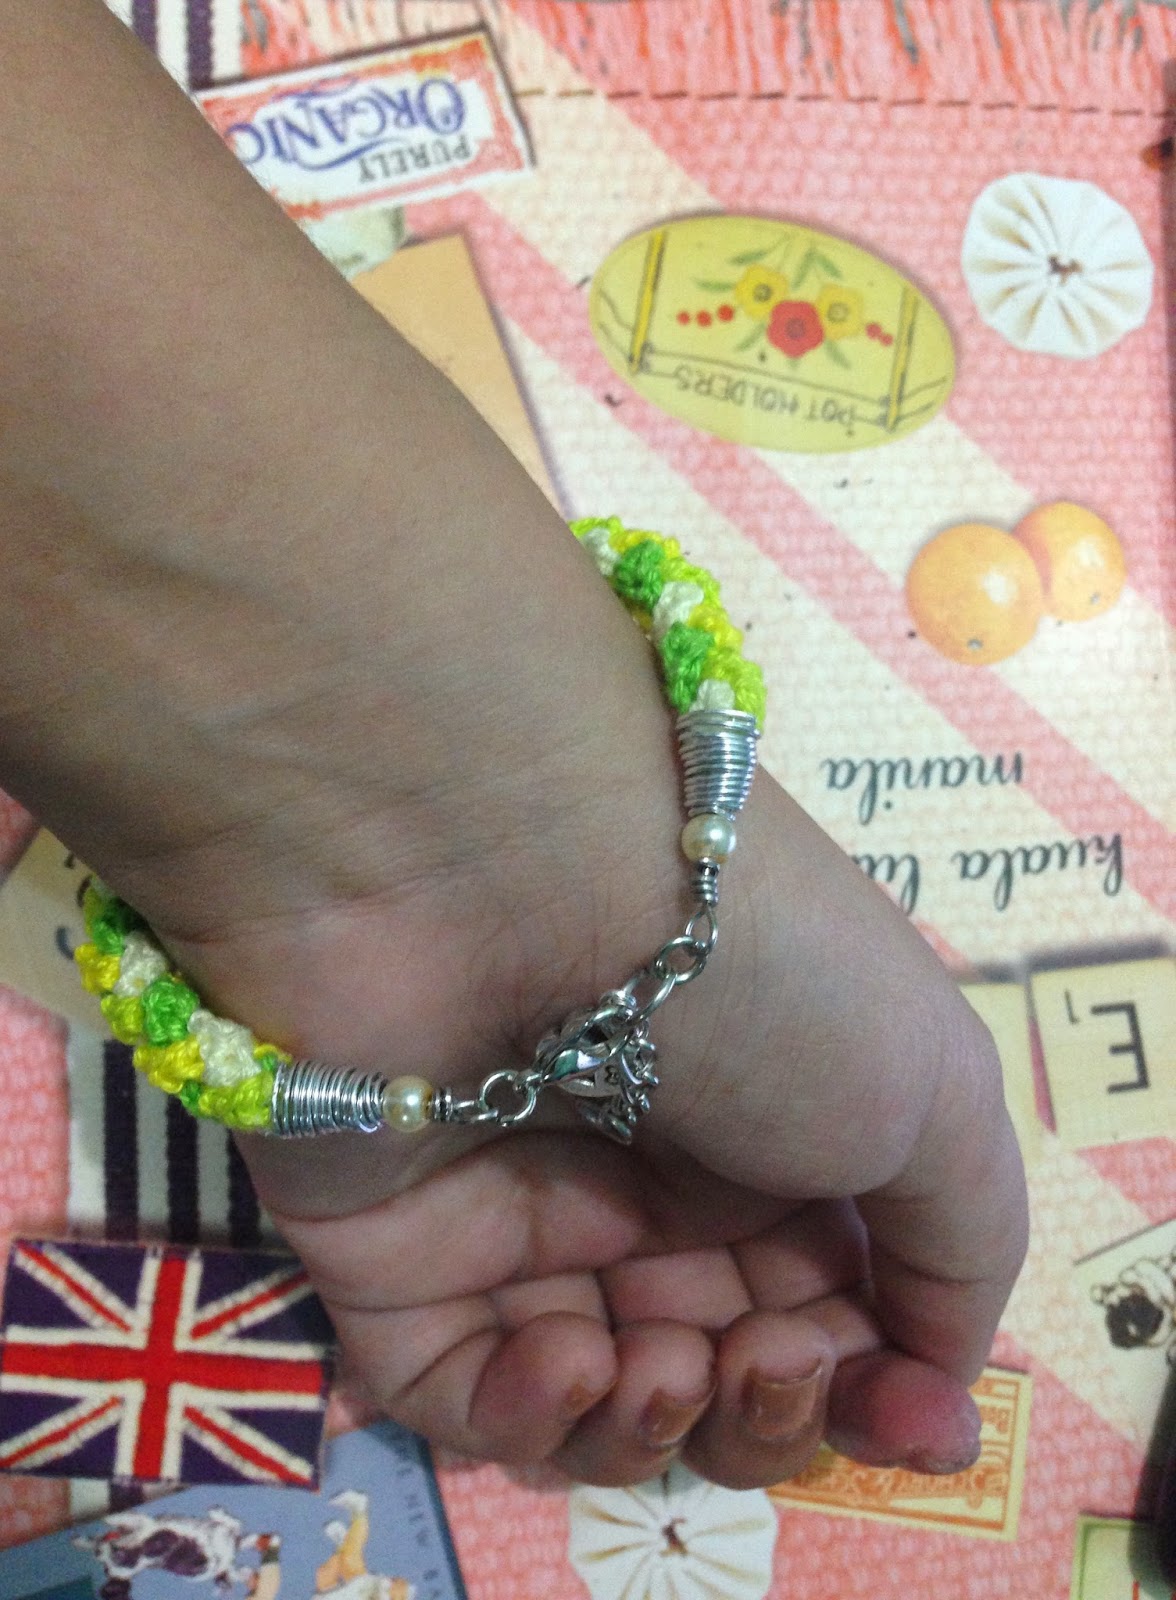
And here's my round braided crochet bracelet in summery yellow and green.


I also made another one using pink and orange shades, and there will be more to come. I hope you like this cute simple bracelet tutorial. Until next time. Cheers!


Read More »

Wednesday, March 18, 2015

Crochet Donuts Bracelet

Do you love donuts? Well, I do, so much so that I decided to wear them. That's right, I walk around wearing donuts on my wrist, only, they're not the edible ones, of course.


My yummy donuts bracelets. Delicious, aren't they? But I would just wear one bracelet at a time, and also, I've already gifted the other two.

This is an easy piece to make. I got the pattern for the amigurumi donut with a hole from Tanya of Little Things Blogged. The pattern is actually for a bigger sized donut, if you use a 4mm hook and yarn, but since I intended to make it smaller, I used 1.40mm hook and cotton crochet thread and ended up with a 1.25 inch-diameter donut. The pattern is easy and very understandable and she has pictures of her finished works to give you ideas for the icing, frosting, and toppings. Click this link to check out the pattern.

The pattern for the donut without a hole is also based on the same pattern, except for the beginning and the end.

Start with a magic ring.
Row 1: sc 6
Row 2: increase in each stitch around (12)
Row 3: *1sc, increase in the next* repeat from * to * around (18)
Row 4 is now the R1 in Tanya's pattern then continue with the rest.

This is also the start of the pattern for its icing then continue with the rest of the icing pattern.

To finish the base, after the R13 from Tanya's pattern, (skip R14) stuff the donut and do the following:

Next row - *1sc, decrease in the next* repeat from * to * around (12)
Last row - decrease in each stitch around (6)
Fasten off and stitch to tighten and close. If there is still a hole and stuffing showing, don't worry, you'll be able to cover it with the icing.


To connect the donuts to each other, I just crocheted small circles and sew them to the sides of the donuts. You can use the findings you want for your bracelet. I used lobster clasps and jump rings.

This cute and yummy amigurumi is very versatile. This can be made into a pendant, a key chain, or a bag charm, if you choose to make a smaller sized one, or if you want bigger ones, you can put some on a tray or plate and display them on your coffee table. I actually made a bigger one as a soft toy for my baby.

Now, I'm thinking of crocheting more desserts. I'd probably make cupcake pendants next, mmm, yum!

Thanks for stopping by.
Read More »

LinkWithin

Related Posts Plugin for WordPress, Blogger...